I’m a white white cishet software engineer who’s growing a man bun and trying to eat less meat so it must follow that I also make sourdough. I’ve been making it for a year and it’s great. It’s also incredibly simple. You don’t need all the ceremony you see online.
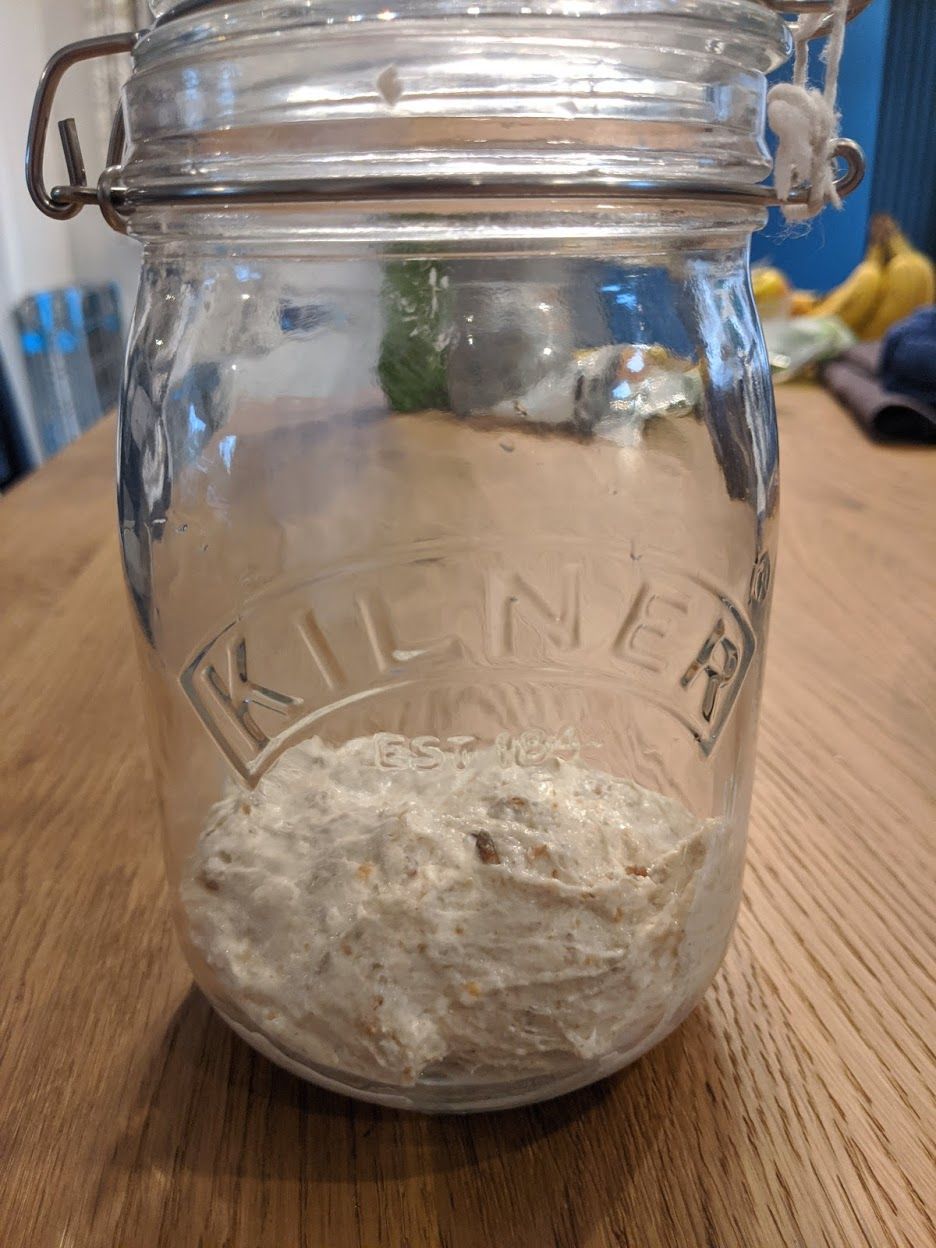
First you need your starter. Get this from a friend because it’s easier. I summoned my own but you don’t have to[1]. I store mine in a modified Kilner jar as below.

It’s far too large so has never overflown. The rubber seal is gone and the locking mechanism replaced by a bit of elastic. This way it can burp and not explode. I also store mine in the fridge to stop it going wild.
Take your bread flour and put ~500g in a large mixing bowl. I use a vague mixture of spelt, granary, rye, and regular strong white. Recently I’ve just been using whatever I can get my hands on.
Add a teaspoon of salt to the bowl. It must be from a salt pig. For the flex.
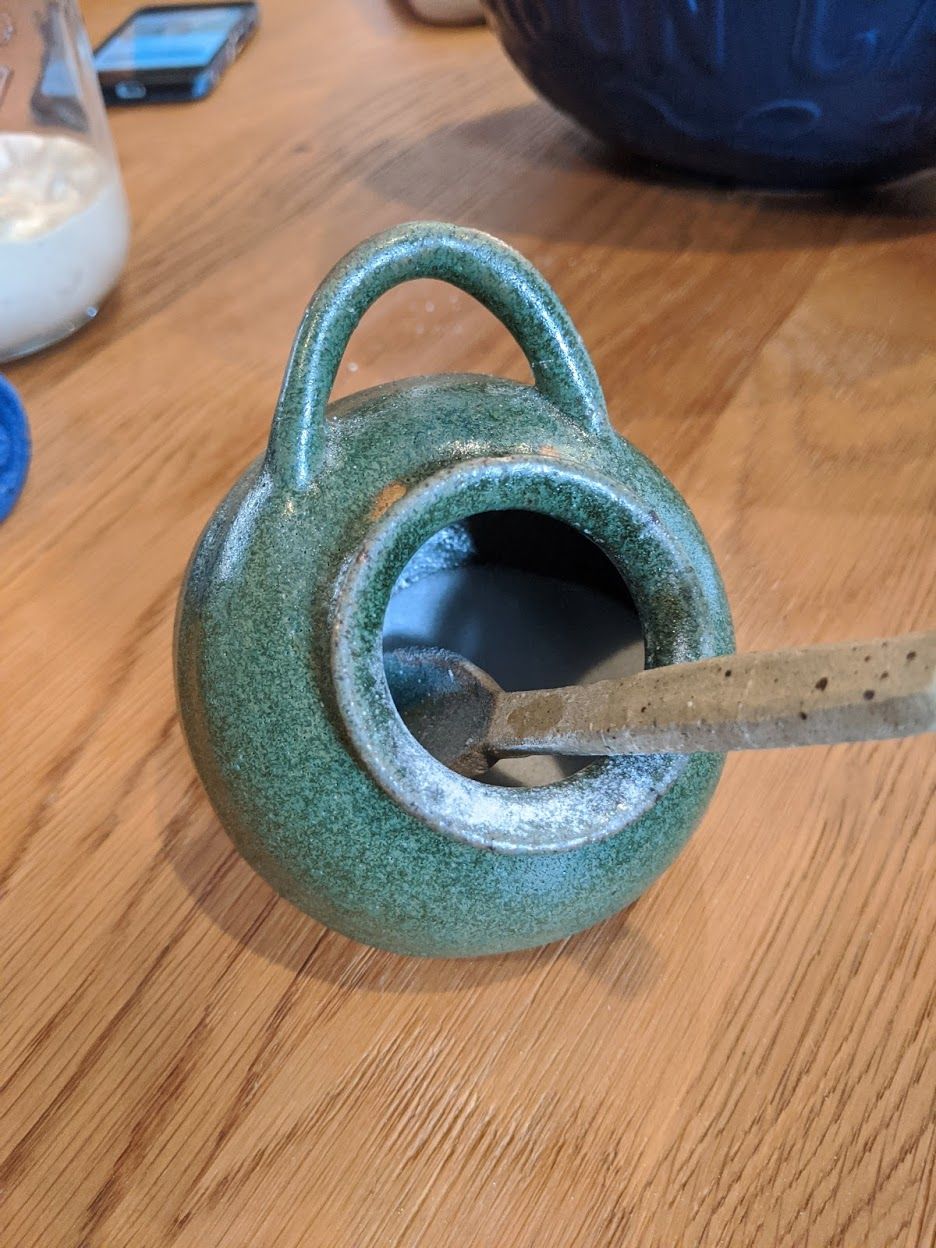
Whack in all your starter right now.
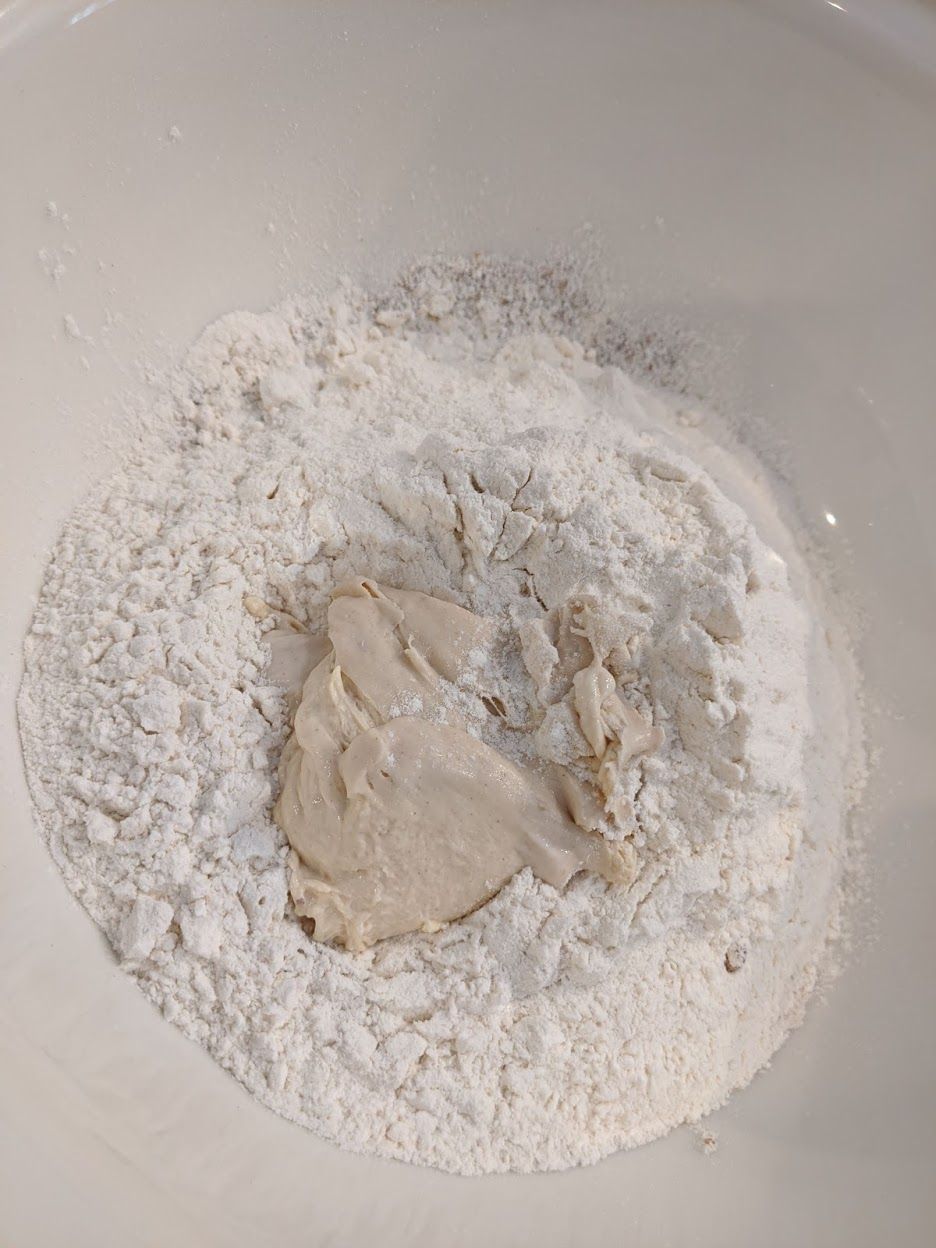
None of this “ooo make a levain from a little starter and some water…” bobbins. I don’t care. There’s yeast in the starter, you want yeast in the dough, make it so.
Add water.
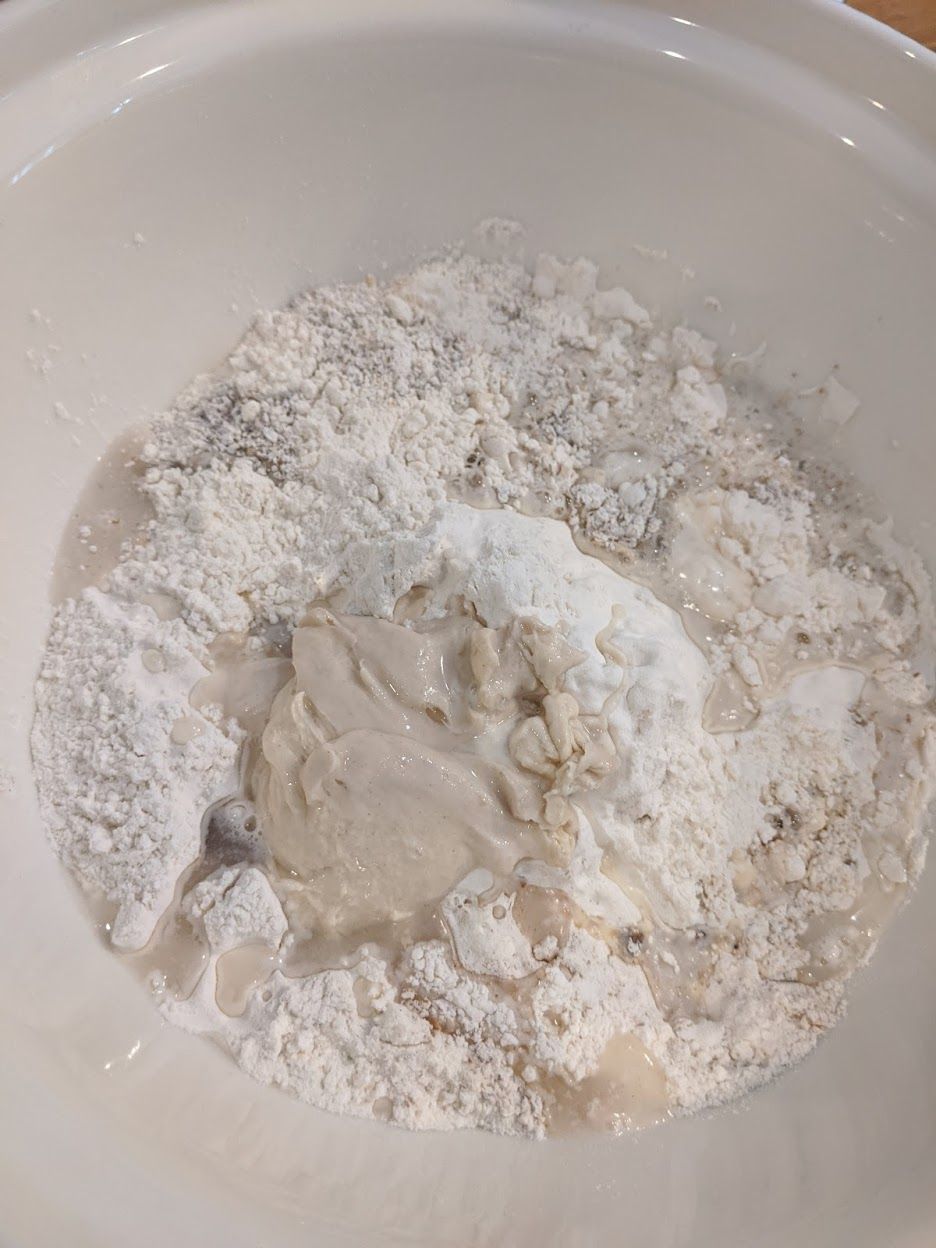
How much water? Some. I never measure it. I add it until it mixes right. In this bake I used somewhere between 250g and 568g of it. Add it very very slowly and mix.
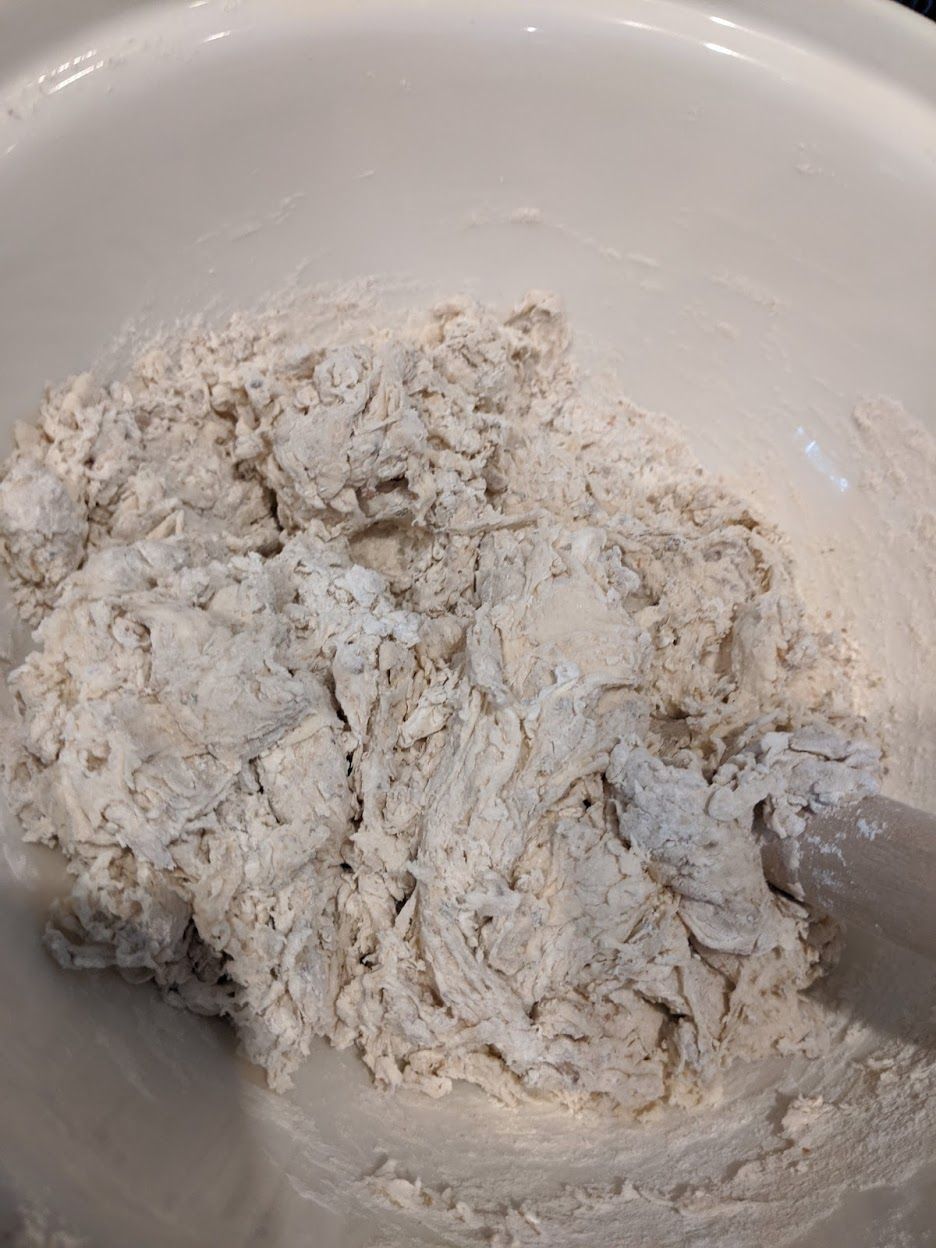
The above dough does not have enough water. I’m mixing it with a cocktail muddler[2] and the flour isn’t incorporating enough. Add more water.
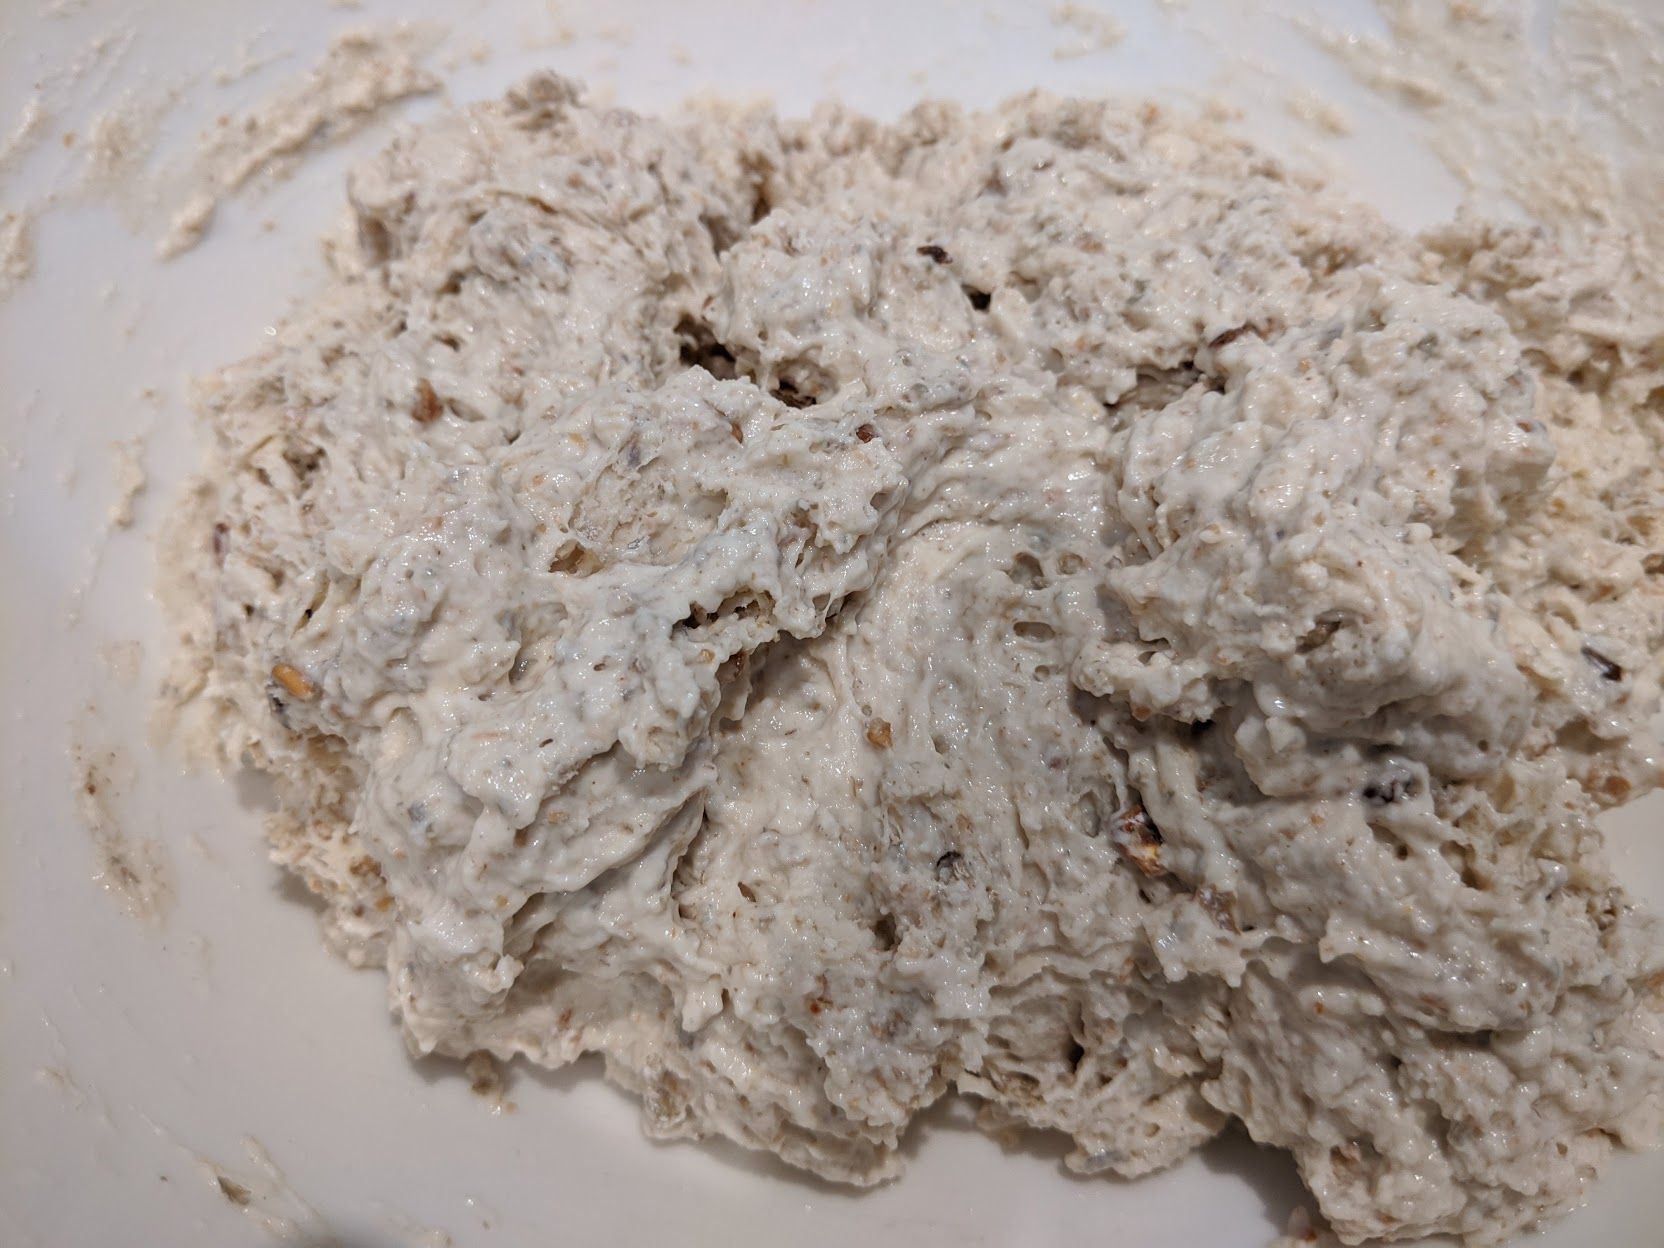
You want to aim for all the flour to come together nicely but it not turn into porridge.
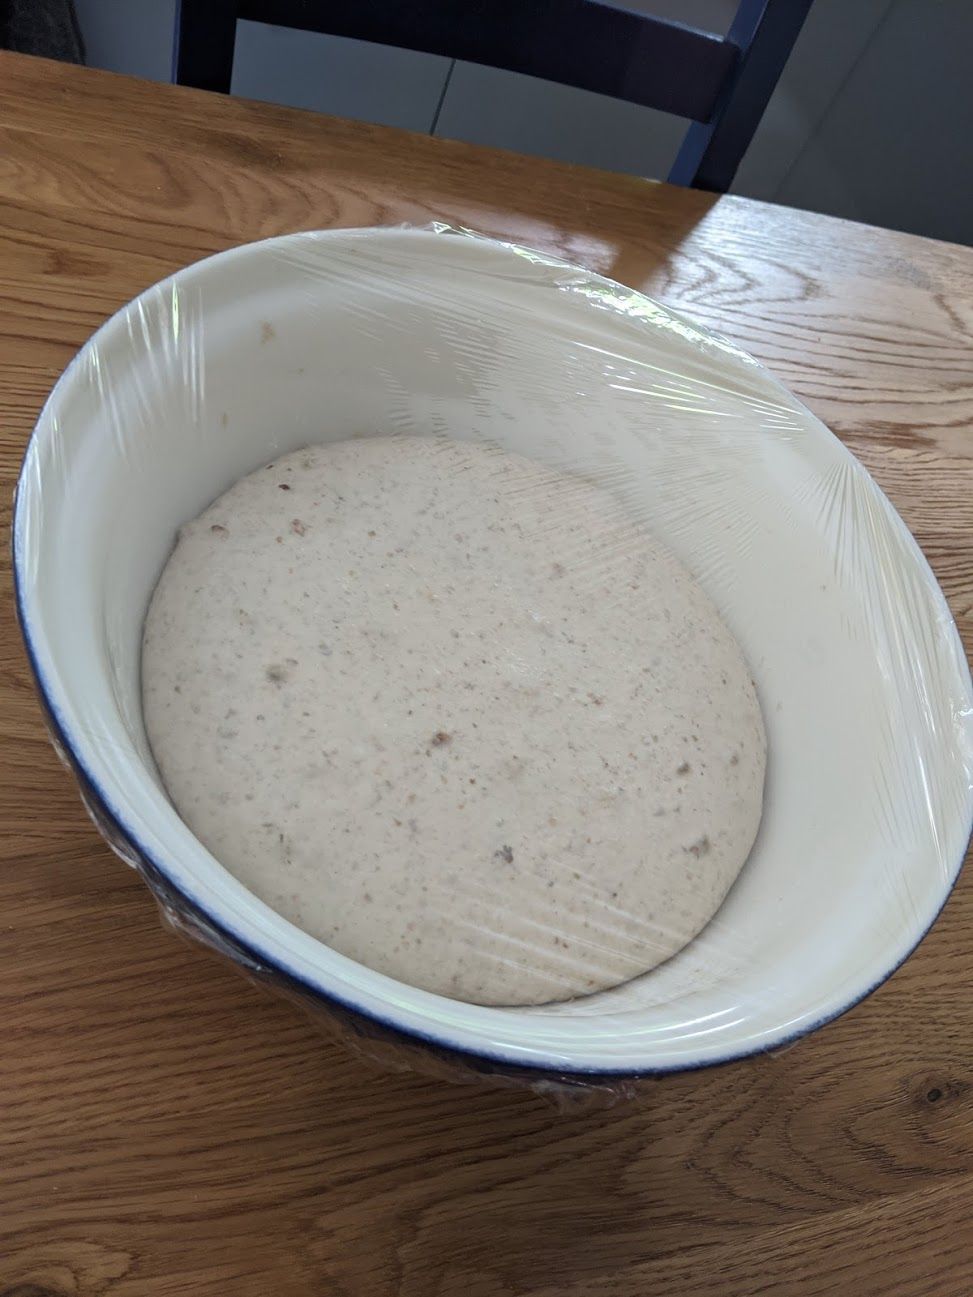
The next step is to leave it alone for an hour. The dough is now autolysing, apparently[3]. Some chemistry/biology is happening right now that means you wont need to knead it as much later. I cover it with some cellophane because I haven’t found a stretchy silicon boy big enough for my bowl.
An hour has passed, you’ve had a little lie down. You’re ready for the first stretch and fold. Grab a bit of dough from the perimeter and stretch it vertically and across a chord/the diameter of the mixture as far as you can without it tearing. Rotate the bowl and do the same. Repeat this until it comes together in a smooth ball(ish) shape.
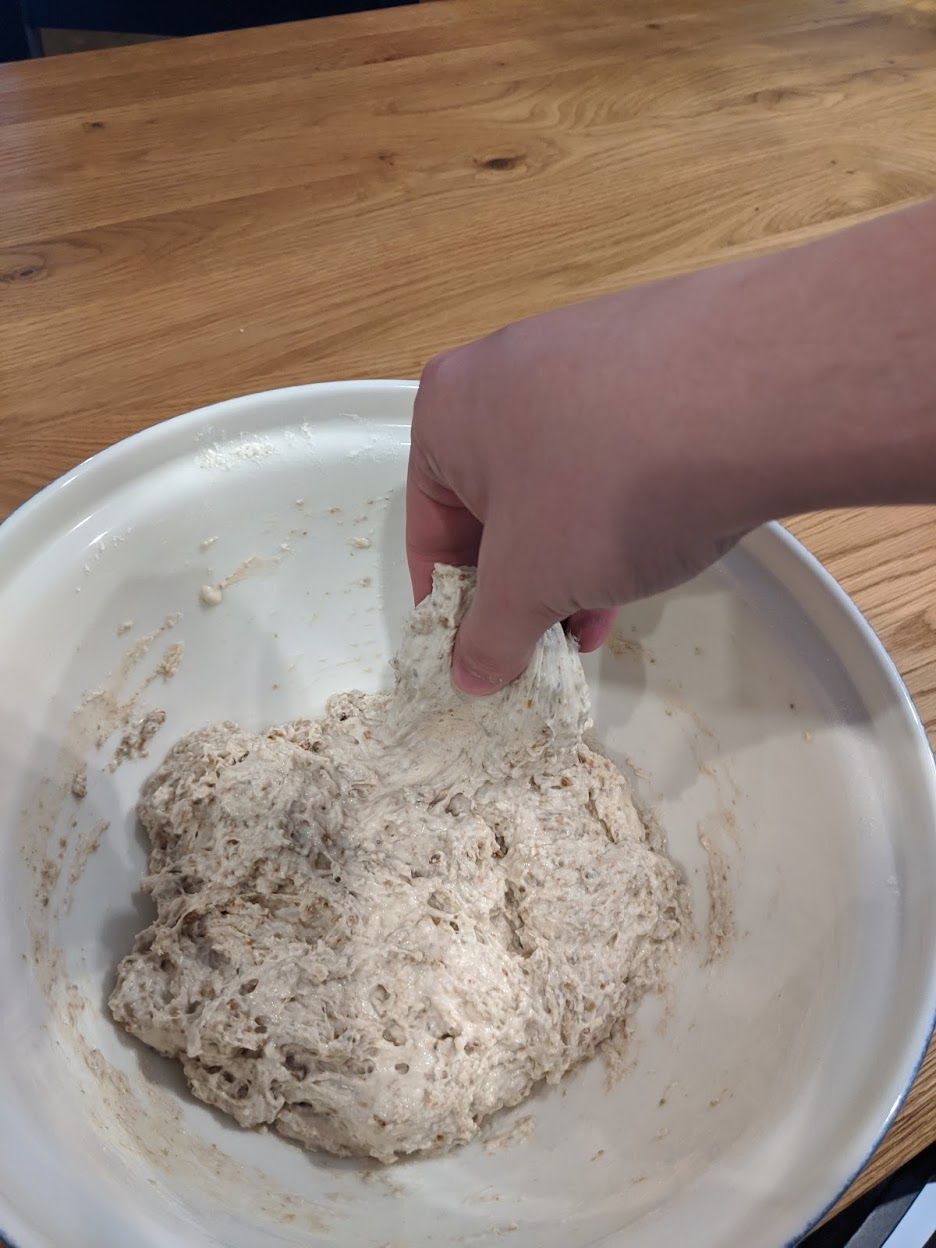
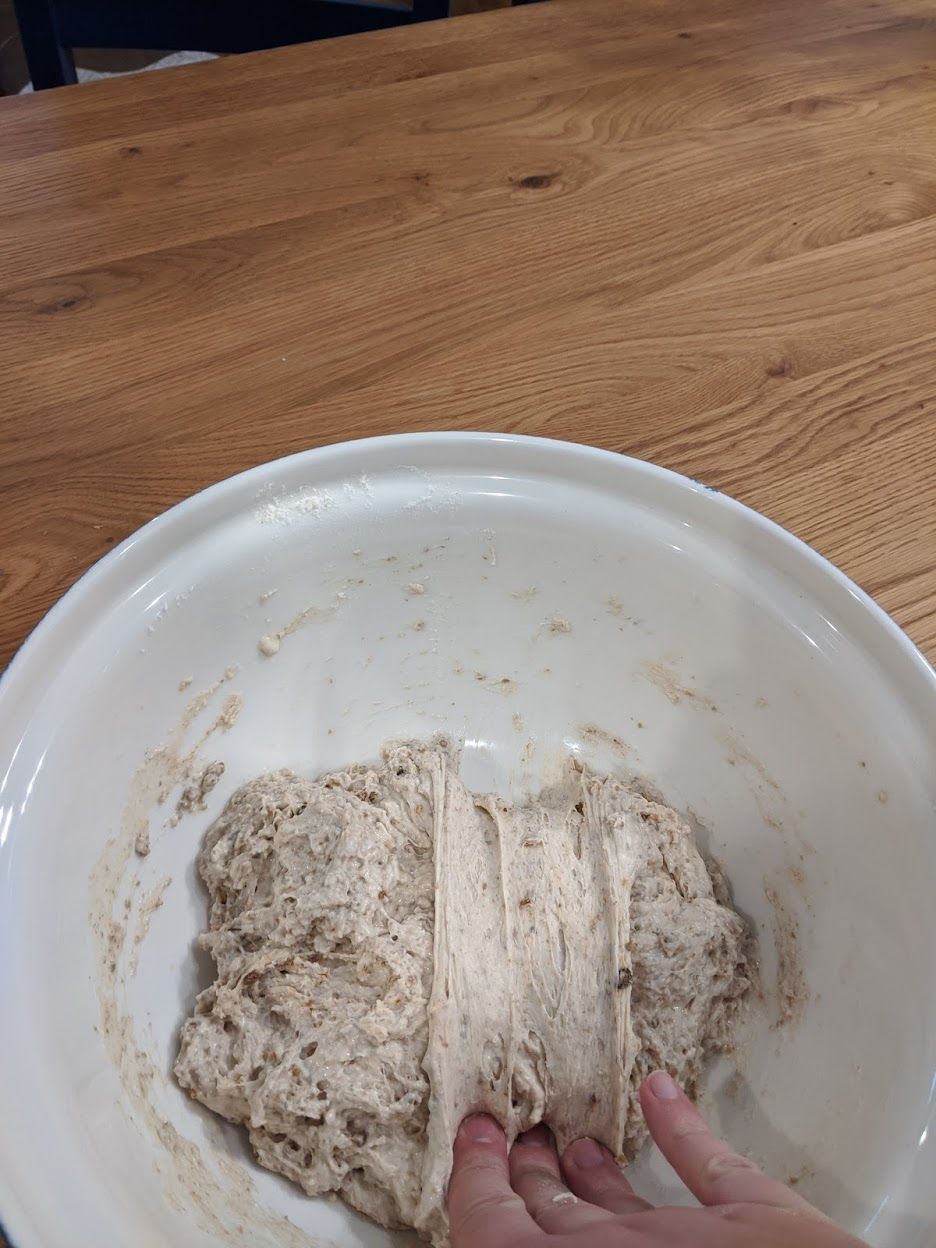
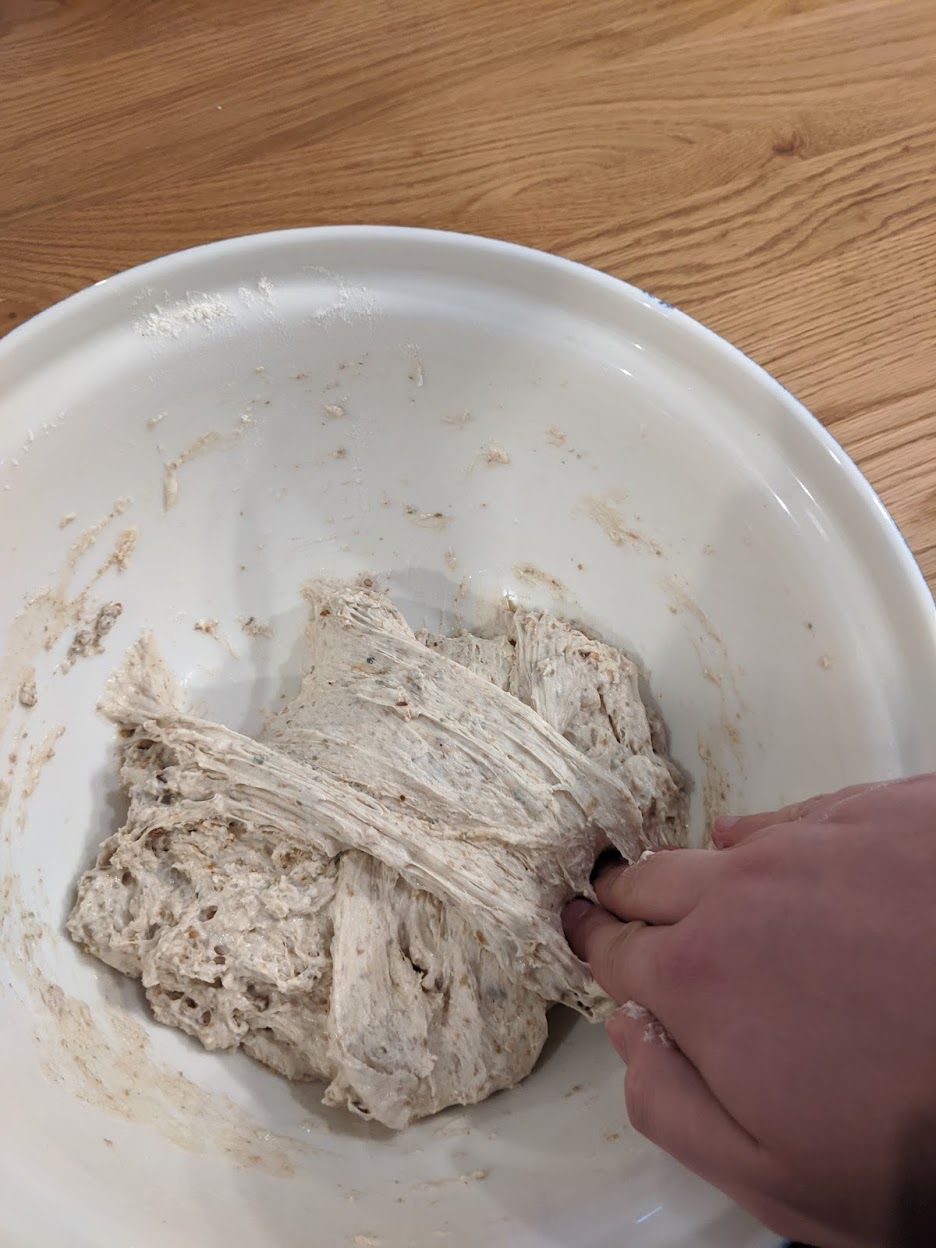

At this point I take an amount of dough roughly the same weight as the starter and whack that back in the jar (which has been washed in the mean time). Then bang that back in the fridge ready for next week.

Now leave your ball alone again. Still covered with cellophane. Come back to it over the next few hours for some more stretch and folds[4]. I aim for 4 but I’m not your dad so do whatever.
After the 5th stretch’n’fold I leave it for about 6-8 hours at room temp for the “bulk rise”. Normally I start this process after dinner and go to bed while the rise is happening.
You awake and find your bread has grown a lot.
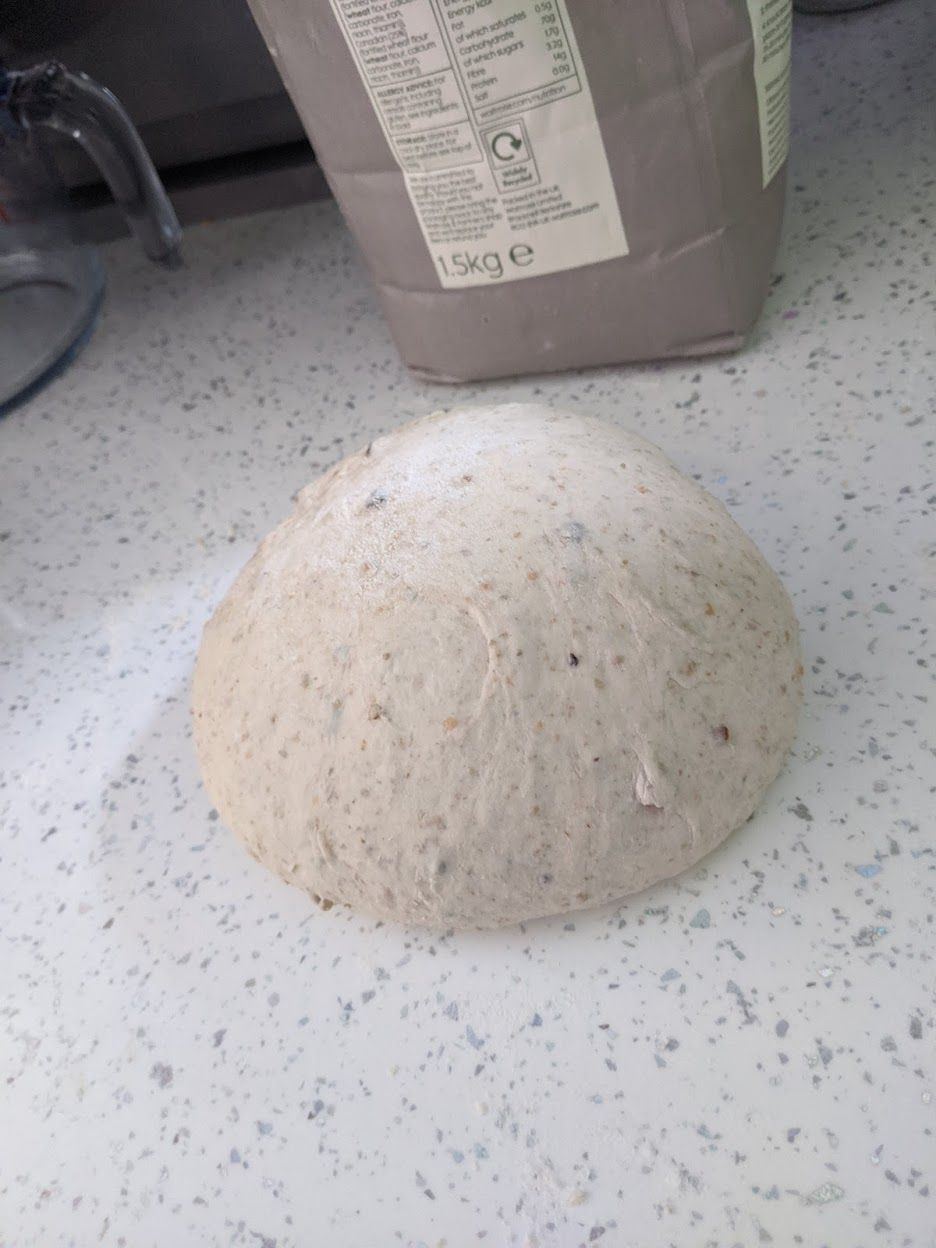
Cracking. This is where you can flex by using a banneton to get a cool pattern or you can be super supine and jump straight to a cast iron casserole dish[5]. Either way you’re going to do one final stretch and fold to shrink it back into a ball. Put the ball on a surface (maybe lightly floured but I mostly don’t) and with the smooth side facing up. Now spin that ball with the aim of fusing all the stretch joins.
At this point you can put the ball into a baking paper lined casserole dish and leave it for an hour or so[6].
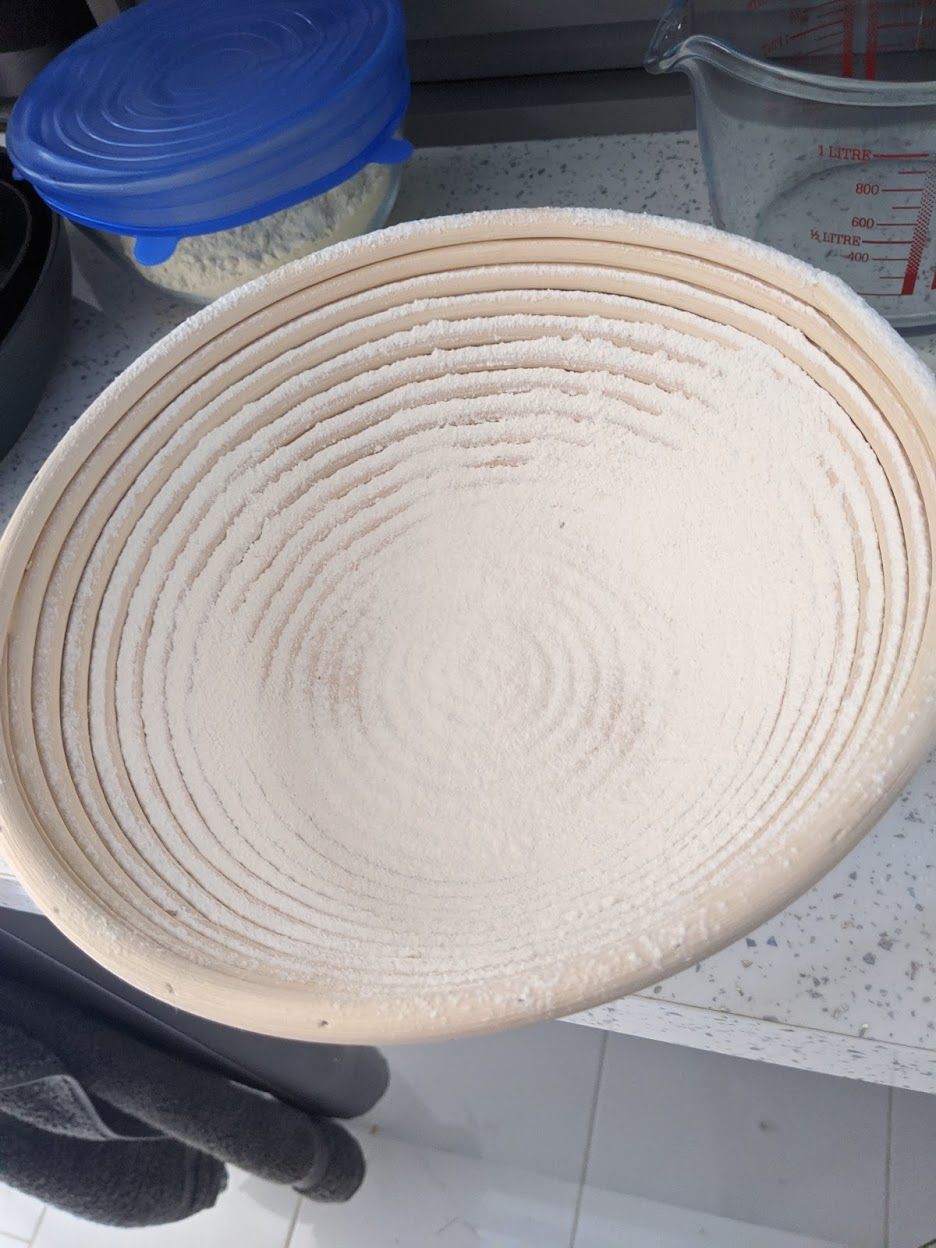
For that concentric circle pattern you see on Instagram you’re going to heavily flour a banneton and put your dough in there instead. After about an hour or so put a sheet of baking paper (big enough to line your dish) on top of the banneton then flip it over allowing the dough to drop onto the paper. Now carefully manoeuvre that into the dish and trim the edges of the paper.
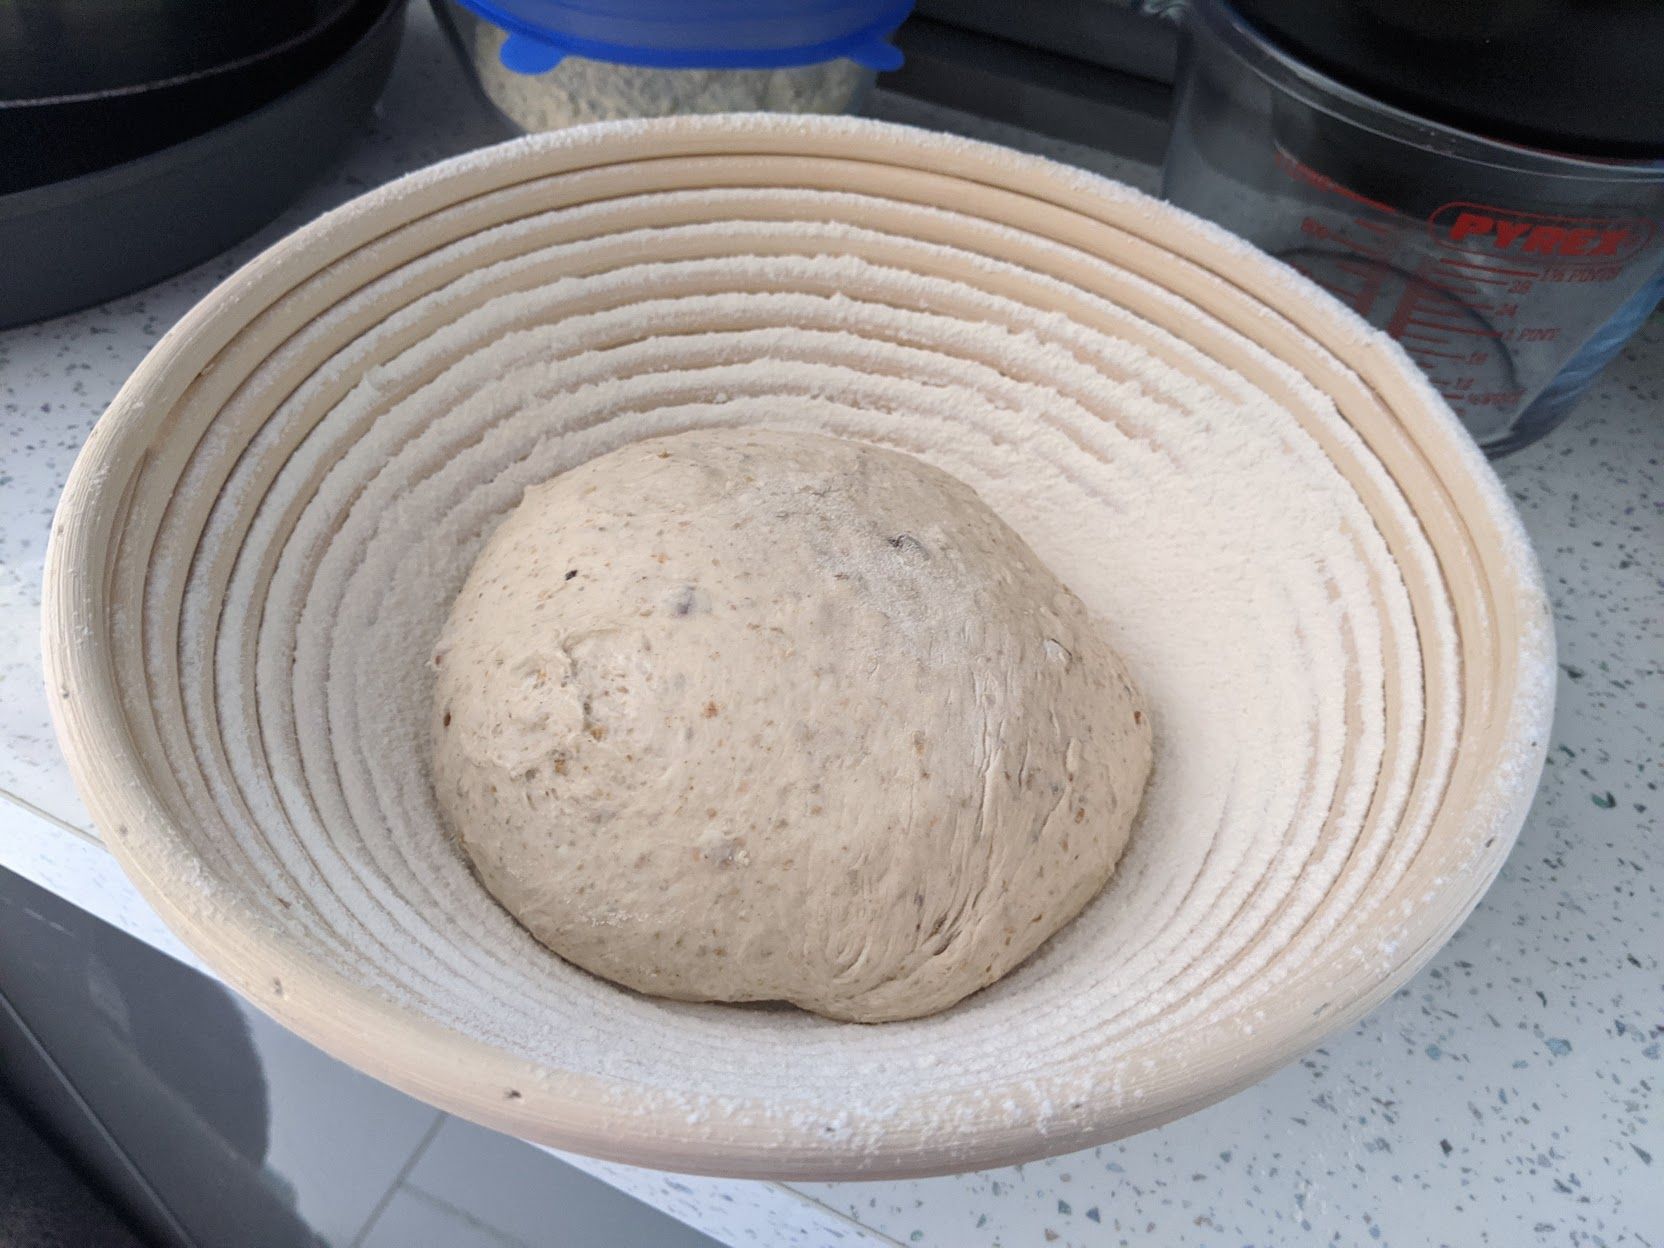
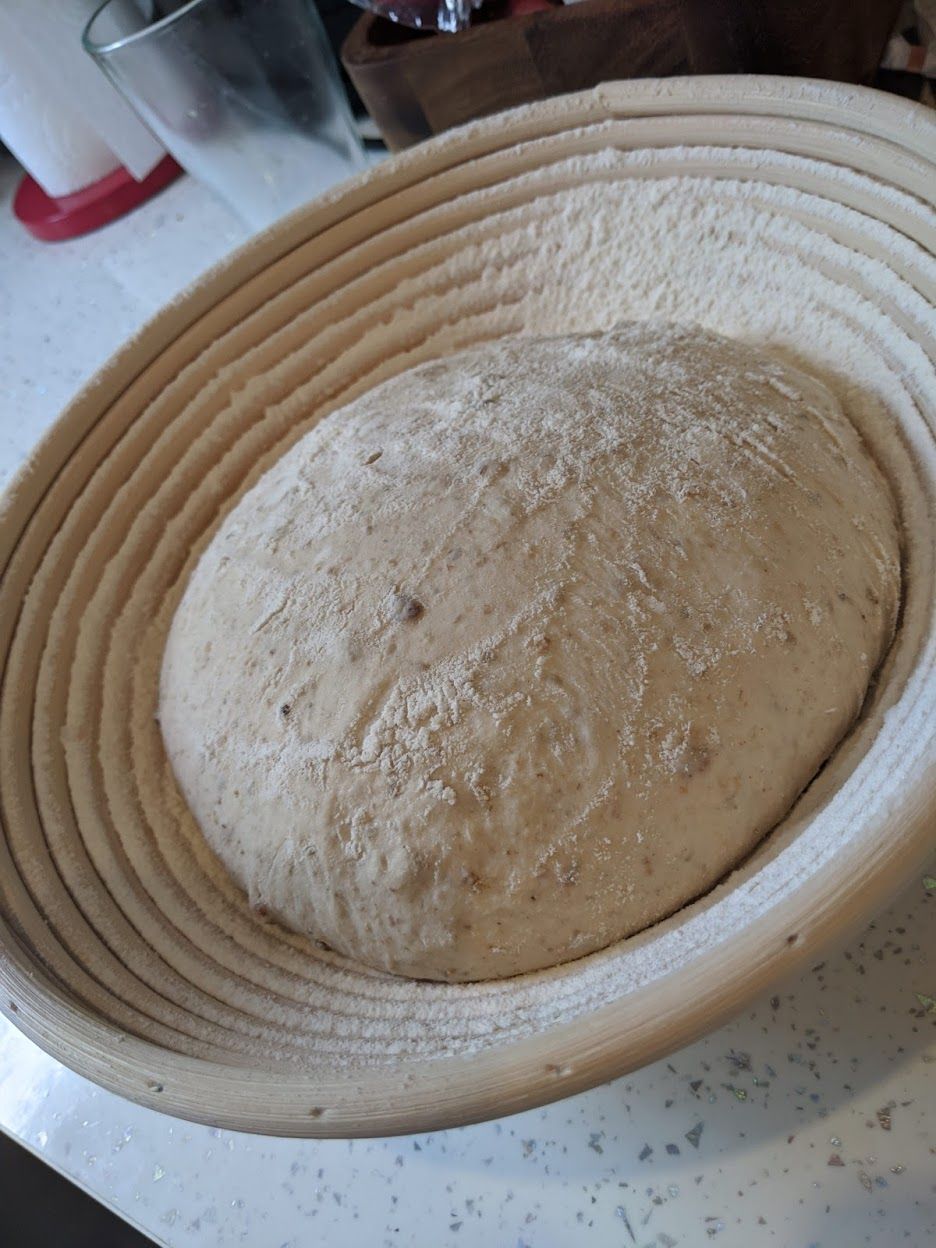
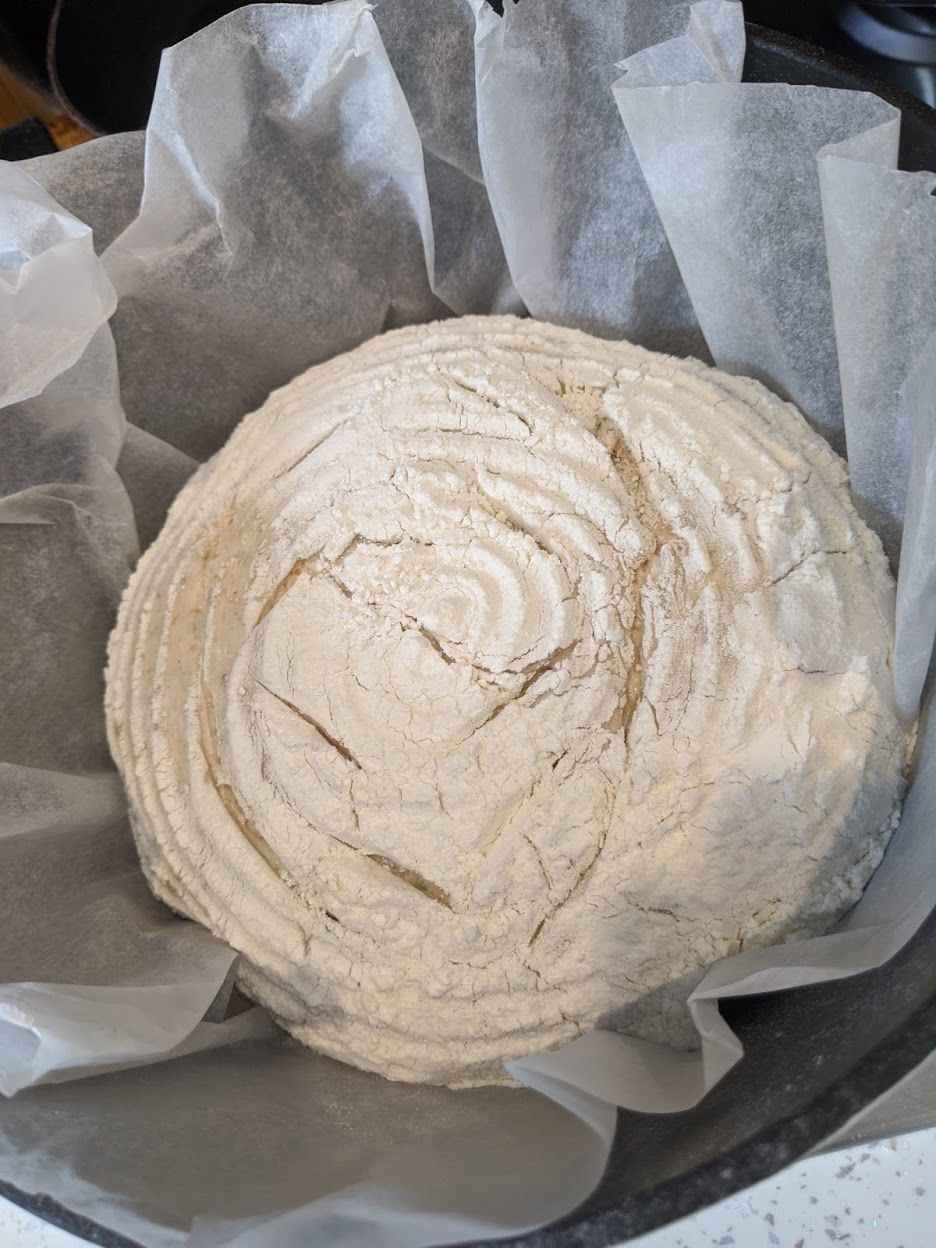
Whatever you did, you’ve now got dough in a dish. Preheat your oven to 175C. Just before it goes in do whatever scoring you fancy[7]. Bake with the lid on for about an hour. After an hour take the lid off and bake for another 30min or until cronchy.
Take it out and let it cool before slicing. You’re done. You’ve made bread and were asleep for most of the process. Bread is easy. Bread is freedom.
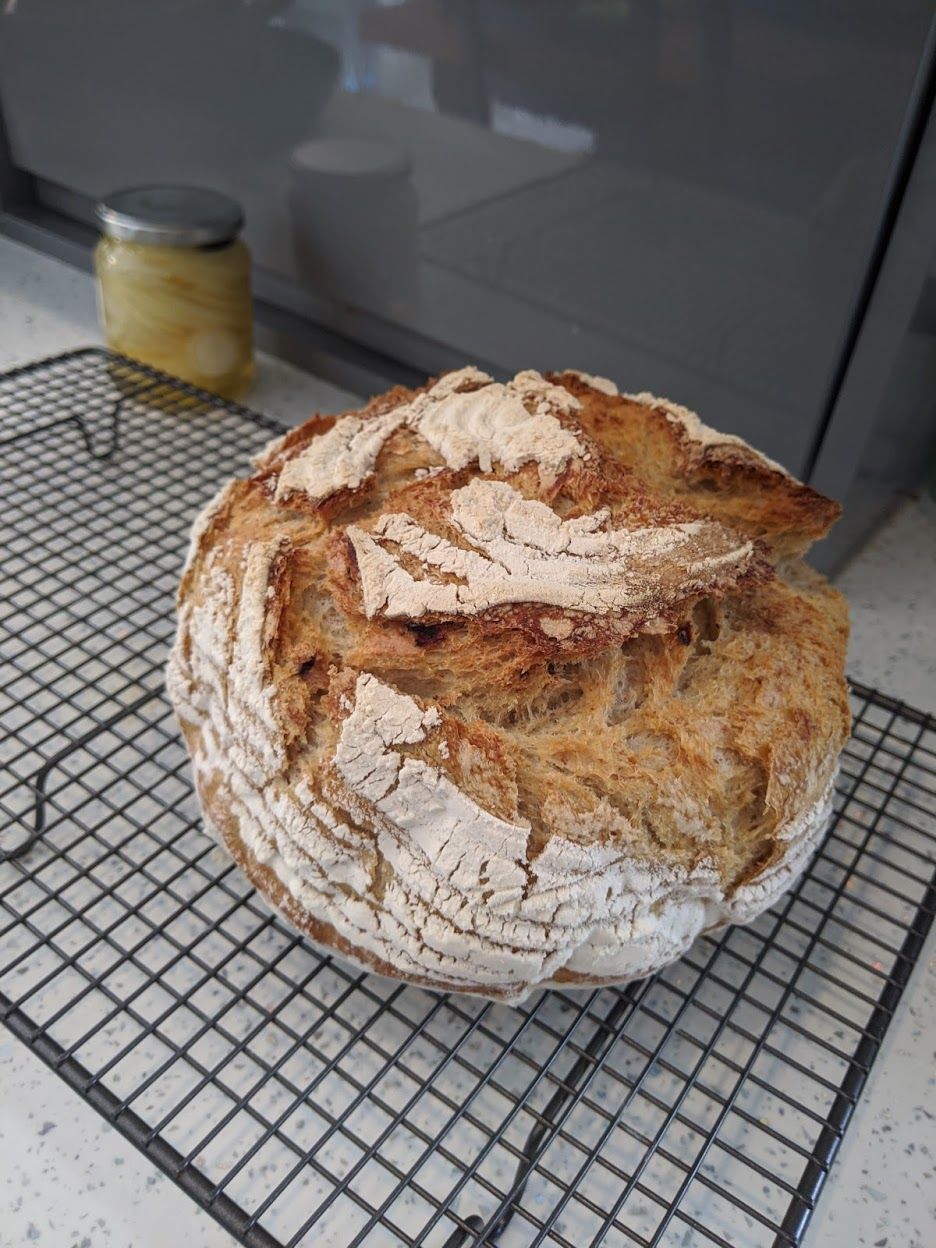
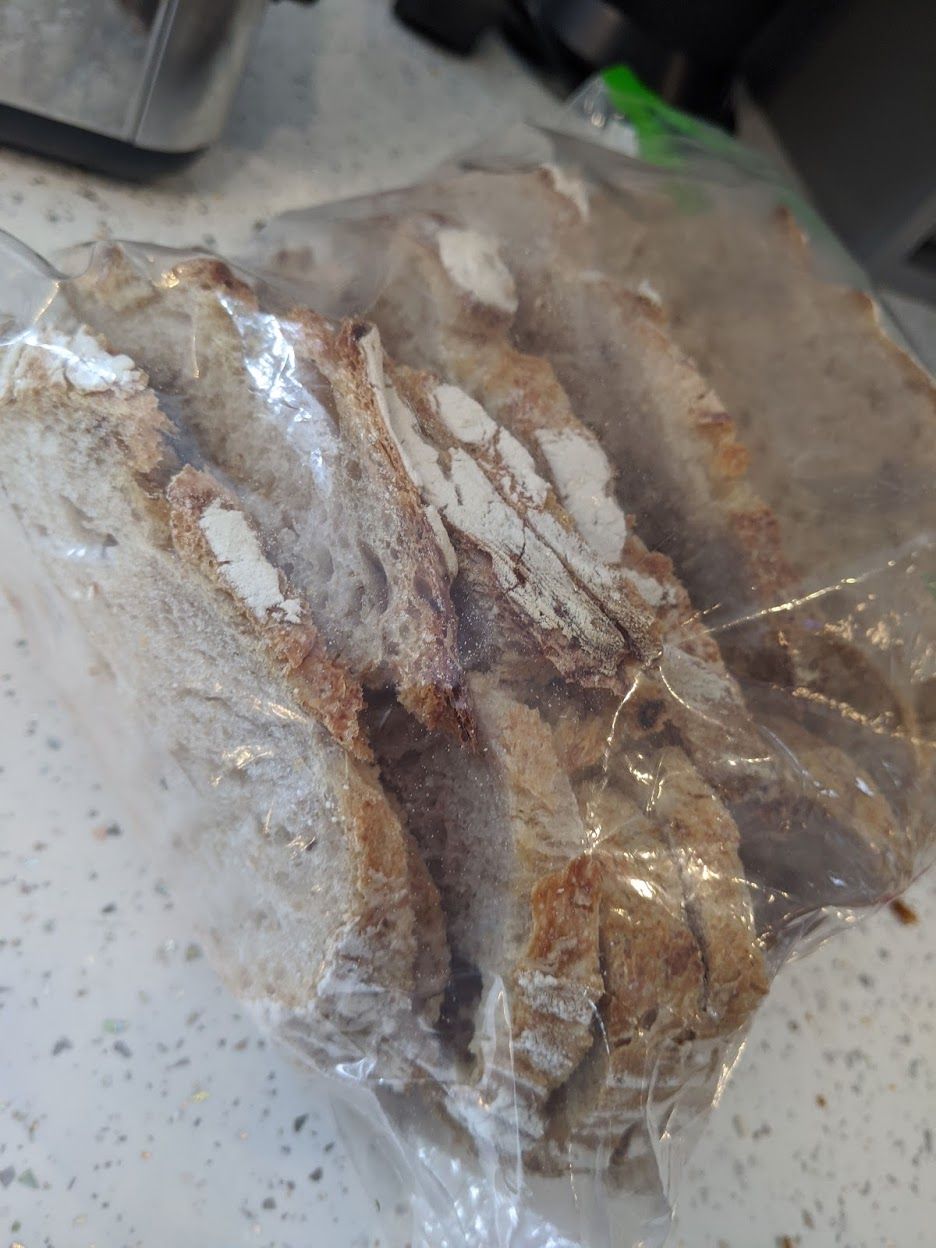
Once it’s cooled I tend to slice it all in one go and freeze it. It might be heresy but it keeps much longer and it’s easily accessible for breakfast.
[1] - Mix 150g of flour, 150g water, and half mashed banana. Put that in a container that’s a little open to the air and leave it for some time (days). It’ll start to smell sour, have some bubbles, and shouldn’t be mouldy. You’re a yeast-mancer now. Don’t forget to name your starter else it’ll run away from home.
[2] - My wooden cocktail muddler is used far more for mixing bread. It’s very robust and means you don’t get sticky dough all over your hands like some sort of idiot.
[3] - I was sceptical about this whole process. I’ve tried with and without it. Using it means I can get to a nice smooth ball of dough with a lot less effort. I’m still sceptical about what’s actually happening.
[4] - You’ll notice after doing some stretch’n’folds the whole mixture become taught and you find it hard to stretch and fold. I don’t do a specific number of turns or folds, I just stop when it feels “right”. When you come back after letting rest you’ll feel it’s relaxed and the stretching is easier again. I’m led to believe this is something to due with gluten forming.
[5] - IKEA do a lovely one called Senior. It’s a banger at £35.
[6] - Basically do this before a leisurely breakfast. After breakfast preheat the oven and you’ve probably left it long enough.
[7] - A razor blade works well. I generally forget to score it and it doesn’t meaningfully change anything.